Showing posts with label Recipe. Show all posts

3 Aug 2014

Recipe: Oreo and mint aero ice-cream


So its no secret that I am obsessed with ice-cream.
Its my fav sweet treat for sure.
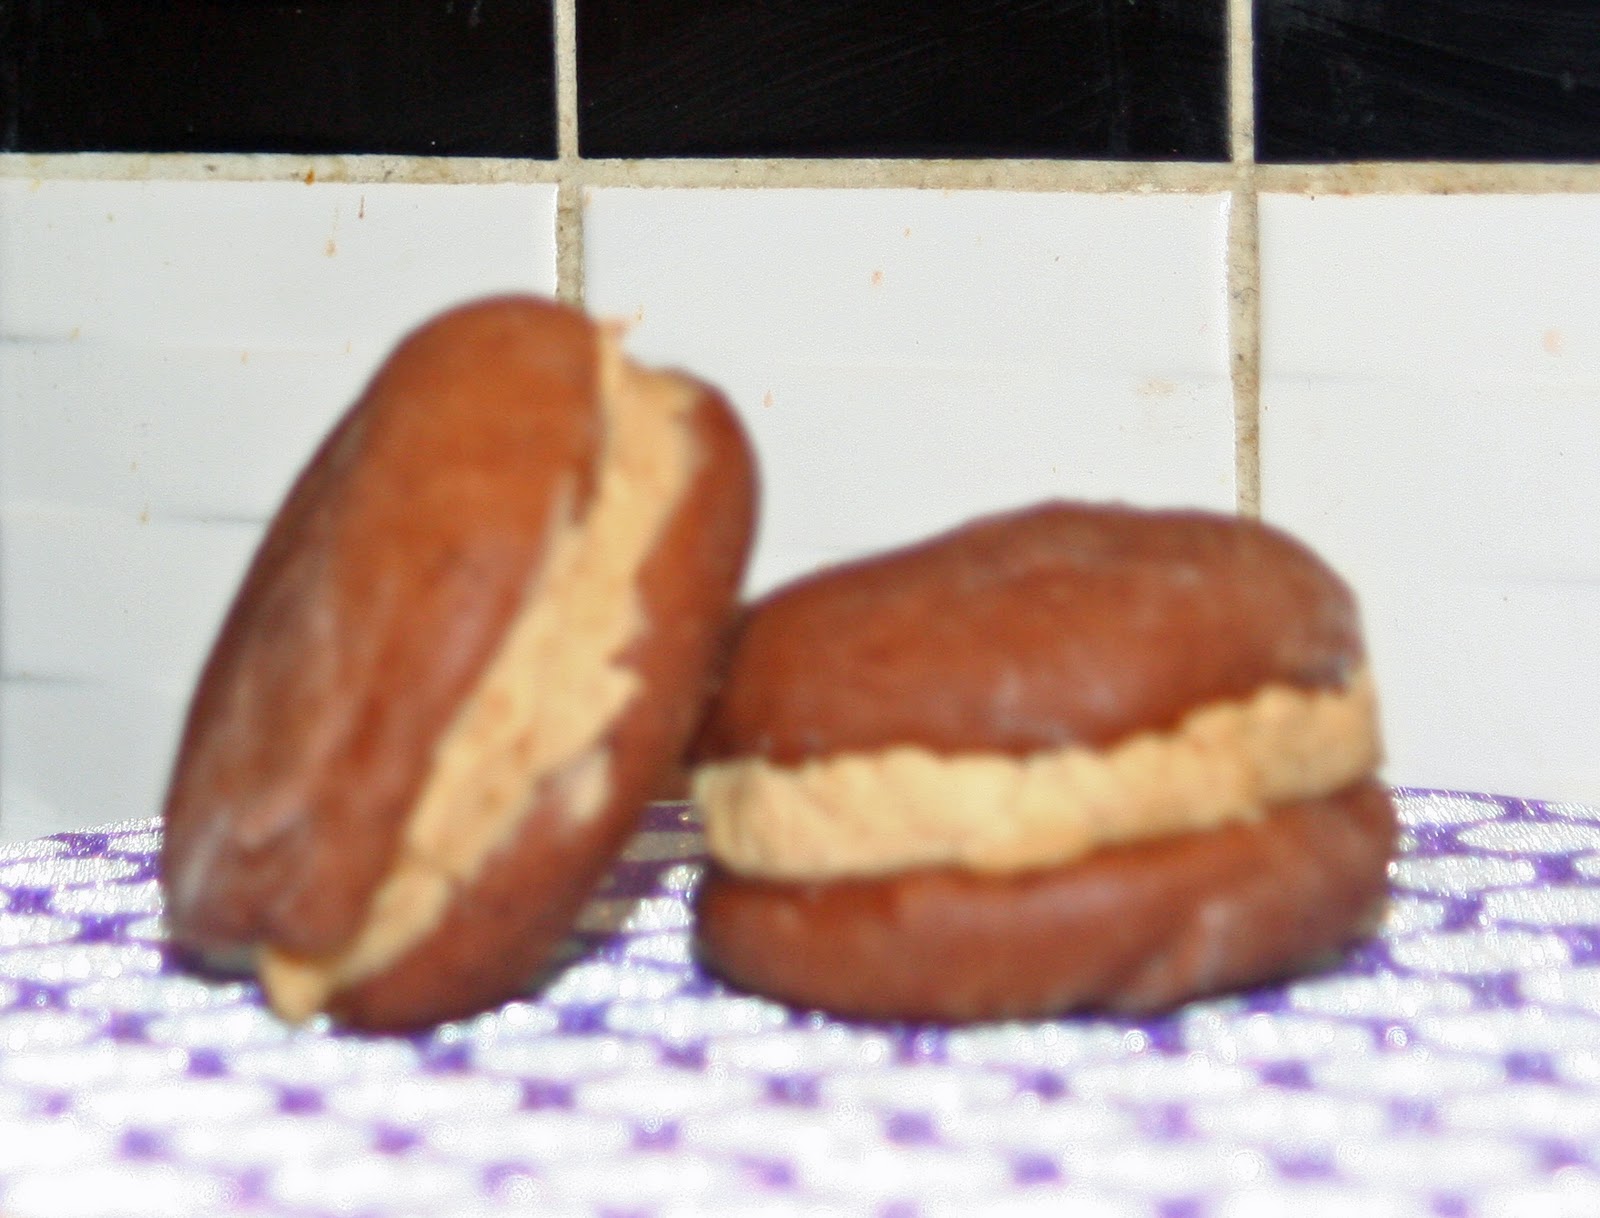
I love cookie dough or caramel fudge or oreo cornettos.
Basically anything with a vanilla base and plenty of chocolatey goodies.
Apparantly August in National ice-cream month (it figures, I guess, since its holiday season) and the ice-cream maker we received as a wedding gift finally fits into our freezer and so I was keen to try it out.
So when I spotted this recipe for Reese's Peanut Butter Cup and Oreo ice-cream I knew I had to give it a go. However I had to modify it a bit for the ingredients we have in England - plus I prefer mint flavour to peanut butter. No offense to my bro-in-law who is obsessed with everything peanut butter!

So here is my recipe and method: (adapted from Juggling Act Mama's blog)

Ingredients:

1 cup whole milk
3/4 cup granulated sugar
pinch of salt
2 cups of heavy cream
1 package of oreo cookies, crushed
1 share size bag of mint aero bubbles, crushed
 
Method:-
  1. This recipe works perfectly for a 6-cup ice cream maker. Before starting, be sure your freezer bowl has been in the freezer for at least 6 hours. (I left mine in over night.)
  2. In a medium bowl, whisk together the milk, sugar, vanilla and salt until the sugar is dissolved. Gently stir in the heavy cream. Cover and refrigerate 1 hour.
  3. Meanwhile, crush the Oreo cookies and aero bubbles - place them in a mixing bowl and use the bottom of a cup to crush. Break up the mixture using a fork if needed.
  4. Turn on the ice cream maker and pour the mixture into the frozen freezer bowl and let mix until it begins to thicken, about 15 minutes. The ice cream will have a soft, creamy texture.
  5. Carefully add in a little of the mix ins at a time.
  6. Use a spatula to scoop the ice cream into an airtight container and freeze for about 2 hours so that the ice cream hardens thoroughly.
Notes
  1. Store the ice cream in an airtight container in the freezer for up to 1 week (if it lasts that long!)

 If I am honest I found that the ice-cream was still a bit runny - more like the consistency of a milkshake - but it was fine as I like it like that. Any tips on how to make it firmer?


So in the words of Craig David...tell me what's ya flava?

16 Apr 2014

Easter treat: Salted rolo brownies


I know, I know. Easter is already a time for chocolate overload. But I can promise you that if you whip up a bunch of these bad boys then they will be gone before you can say 'Easter egg hunt.' Plus you can change up the chocolate bar in them with what you have left over from your Easter eggs. 

In fact I had forgotten how delicious rolos actually are and may well have eaten as many as I put in the brownies. Grazers beware. I certainly didn't love anyone enough to save them my last one.

These should come with a health warning as they are seriously addictive. I am making a pan for our annual Jones family get together this Easter weekend. So why don't you make a pan too and share the love? Did I also mention how easy they are to make? 

Here are the ingredients: (from Delicious magazine)

200g unsalted butter, plus extra to grease
200g plain chocolate (70 per cent cocoa solids) broken into small pieces
125g light muscovado sugar
125g caster sugar
4 medium free-range eggs, beaten
1 tsp vanilla extract
125g plain flour
1 tbsp cocoa
1 tsp sea salt flakes to taste
126g bag rolos, half chopped and half left whole

Method:

1) Heat the oven to 170 degrees. Grease and line a 20 cm square cake tin. Melt the butter and chocolate together in a saucepan constantly stirring over a low heat. Don't overheat as it may seize - allow it to cool slightly.

2) In another mixing bowl beat together the sugars, the eggs and the vanilla extract until pale and fluffy. Now stir in the cooled melted chocolate mix. 

3) Sift in the flour and cocoa powder, then fold through the batter with the sea salt to taste.

4) Mix the chopped rolos into the batter and then top with the whole ones. Bake for 25-30 minutes until firm to the touch but stil gooey in the middle - as they will continue to cook as they cool.

5) Leave to cool in the tin and then transfer to a wire cooling rack. If you're stuck for time put them in the fridge to set.


___________________________________

My notes...

I used a mixture of half dark chocolate and half milk as The Belgian had raided my cooking chocolate cupboard when there were no snacks in the house. This is one of his annoying habits, does anyone elses' partner do this?  My sister (who is a cake expert) said they weren't very chocolatey but we kinda liked them this way.

I only cooked mine for about 18 minutes and this was perfect in my opinion, but I like my brownies quite fudgy. Also I used a Pampered chef brownie pan so it is bigger and rectangular in size so the brownies were thinner. For this same reason I quartered most of the rolos and then cut then whole ones in half to decorate the top - this seemed to be the right amount of caramel goodness for these brownies. 

It is really worth getting the sea salt flakes as they really add something. In the past when a recipe has called for salt I have used whatever we had in the house, but this time I went all out and it was so worth it. I sprinkled a bit extra on top of the brownies too.

Enjoy, but don't say I didn't warn you.
One will not be enough. Nor will two. Or three. Or...

(The Baby prefers limes)

6 Dec 2013

Foody Friday: Five Christmas Cookie Recipes

As the big day approaches I thought I would share some of my favourite cookie recipes to bake up for your families this festive season.

 Recipe here

 Recipe here

 White macadamia nut cookies - recipe here

 Four ingredient peanut butter cookies - recipe here

Salted chocolate peanut butter cookies - recipe here

What are your favourite type of cookies? 
Please share any good recipes you have...

25 Oct 2013

Foodie Friday: Halfway homemade apple turnovers

As the night's grow darker, leaves turn crisp and golden and you start to dig out your winter woolies.
There is no denying that autumn is in the air...
and Christmas is just around the corner.
So my American friends go crazy for pumpkin and pinterest is just brimming with recipes...
and us Brits hanker for wholesome recipes using a fresh harvest of apples.


Now many of you know that I am married to a Belgian.
He is very patriotic to his country and for a while there was some debate over where we would end up.
Guess I won that one...for now!
So I am always secretly pleased when he actually likes a British dish.
So far on his list are...
1) Fish and chips (he's not a mushy peas fan though)
2) Pork pies
3) Yorkshire puddings (although his first time trying them he did put golden syrup on them!)
4) Tea
5) Apple crumble and custard

So with the last one in mind I wondered what other apple flavoured dish I could make him and came upon a great recipe for very easy apple turnovers.
He now requests them often on lazy Saturday mornings or stressful Sunday nights when he experiences back to school blues.


Apple Turnovers 
2 medium apples - peeled, cored, and diced (try using two different varieties)
2 Tablespoons butter
1/3 cup brown sugar
1 Tablespoon cornflour
1 Tablespoon lemon juice
1 teaspoon cinnamon
1/8 teaspoon ginger
1/8 teaspoon nutmeg
1 teaspoon vanilla (I like to use the good quality vanilla bean stuff)
1 egg white
1 Tablespoon water
1 (17.3 ounce) package frozen puff pastry sheets, thawed
1) Heat oven to 180 degrees. Grease a baking tray.
2) Melt butter in a heavy bottomed pan over medium heat. Add apples and cook 2 minutes, stirring occasionally. 
3) Add brown sugar, cinnamon, cornstarch, ginger, nutmeg, and lemon juice. Cook and stir for three minutes until the apples are tender and sauce is thickened. 
4) Remove from heat and add the vanilla. Cool slightly. 
5) Meanwhile, unfold pastry sheet on a lightly floured surface. Pinch together seams if necessary. With a sharp knife, cut each sheet into four squares. 
6) Mix the egg white and water in a small bowl and brush the edges of the pasty squares with egg wash. Spoon 1/8 of the mixture into the center of the 1 pastry square. Fold pastry in half diagonally and pinch the edges with a fork to seal. Repeat with remaining squares. 
7) Bake at 180 degrees for 14-16 minutes until the top is puffed and nicely browned. Remove turnovers from the pan to a wire rack and cool for ten minutes.
Vanilla Glaze
1 cup powdered sugar 
2 Tablespoons milk
1 teaspoon vanilla
In a small bowl, combine powdered sugar, milk, and vanilla. Mix to a smooth, thick consistency. Add more milk to thin, if necessary. Drizzle glaze over warm turnovers and serve. 
*Apple Turnovers are best served the same day as baking. They can be reheated in a 180 degree oven for 5 minutes to bring back that fresh out of the oven taste!

(adapted from a recipe from Sumo's Sweet Stuff)


They are really easy - so try them and let me know what you think!
Whether or not they compare to pain au chocolat or frites I shall leave that up to you...

4 Oct 2013

Foodie Friday: Oreo Rocky Road Recipe

Do you love marshmallows?
Do you love oreos?
Do you love chocolate?
Do you love a bit of crispy goodness?
 Well then, since I have your attention, perhaps you would enjoy some rocky road?
First up a photo step-by-step.


Stir and put in pan to set

Enjoy!
What I love most about the recipe is the versatility...you can add any kinds of biscuits, nuts, marshamallows and chocolate bars and can be adapted for the seasons or for your favourite flavours. Triple toasted coconut rocky road? Halloween themed orange snickers and oreo rocky road? Festive triple peppermint rocky road?
My recipe is adapted from the above ones on my sisters' blog.

Snickers & Oreo Rocky Road:

Makes 16 bars


185g crushed Oreos

100g galaxy cookie crumble or cadbury's oreo creme filled chocolate


150g marshmallows

185g Rice Krispies

450g Your preferred choice of eating chocolate (I used Dairy Milk, galaxy and some cheaper varieties I had in the baking cupboard)

2 tsp vegetable oil


For decoration:

handful of crushed oreos, marshmallows and cookie crumble


Break the Oreos and cookie crumble into cubes.  Chop up marshmallows (I used mini marshmallows so didn't have to do this step).  Measure out Rice Krispies and set everything aside. Reserve a small handful of each for decoration.


Melt the eating chocolate and oil together in a glass bowl set above a pan of boiling water.  


Once it is completely melted, set aside to cool for 10 minutes.  Turn flame down to low and heat the pan of water gently.


Add all the other ingredients into the bowl of chocolate and mix together.


Transfer into a pre greased baking pan.


Sprinkle the reserved goodies on top and press down.


Refrigerate for one hour or until firm, cut and serve and enjoy.


Above is evidence they were enjoyed by all!

What flavours would you put in your rocky road?
---------------------------------------------------
Don't forget Storytelling Sunday on (yep, you guessed it) Sunday!
The first in my new 'Mini Mondays' series about using tags and PL cards in mini albums


27 Sept 2013

Foodie Friday: Halfway homemade mini peach pies

1) Take some peaches
2) Cut them in half, pit them and slice them
3) Preheat the oven to 180 degrees and grease mini pie pans
4) Roll out shortcrust pastry
5) Use the pie tin to cut out the pastry
6) Once cut roll it out thinner and mold into pie tins
7) Mix four tablespoons (two for each pie) of cream cheese, tablespoon of sugar and a drizzle of honey. Fill pie crusts and top with sliced peaches.
8) Use a small round cutter and a shape (I used a heart) to decorate the top of the pie - sprinkle with brown sugar.
9) Bake for around 20 - 25 minutes until golden brown.
10) Top with whipped cream or serve with ice-cream.


Enjoy!
 

25 Sept 2012

Cookies and cream brownies...

Do you ever feel like you're just playing at being an adult? I am almost *gulp* thirty and yet I still think of myself as a young student type. In fact I went to my first grown up Pampered Chef party and made two purchases and this made me feel like a real adult. I stroke my brownie pan and feel like I have arrived. It is a great brownie pan.

So I got to thinking what type of brownies shall I make? This is when I remembered about a recipe which had caught my eye in my Lorraine Pascale 'Baking Made Easy' recipe book.


They were deliciously fudgy and the cookie topping made them extra special.

Here is the recipe:
  • 165g (5 1⁄2oz) butter, plus extra for greasing
  • 200g (7oz) dark chocolate, grated or finely chopped
  • 3 eggs
  • 2 egg yolks
  • Seeds of 1 vanilla pod or 2 tsp vanilla extract
  • 165g (5 1⁄2oz) soft light
  • brown sugar
  • 2 tbsp plain flour
  • 1 tbsp cocoa powder
  • Pinch of salt
  • 154g pack of oreo biscuits, broken into quarters
  • Icing sugar, for dusting
  • 20cm (8in) square baking tin

Method

  1. Preheat the oven to 180°C (350°F), Gas Mark 6 with the middle shelf ready. Grease the baking tin, then line with baking paper with the paper overlapping the sides a little.
  2. Melt the butter in a pan over a medium heat. When the butter has melted, remove the pan from the heat and add the grated chocolate.
  3. Leave to stand for a few minutes until the chocolate goes soft then stir together. Alternatively, you can put the chocolate and butter in bowl and melt in the microwave in 25-second blasts, stirring well each time.
  4. Whisk the eggs, egg yolks and vanilla together in a large bowl until they begin to get light and fluffy. Add the sugar in two additions whisking between each. Pour it around the side of the egg mix so as not to knock out the air that has been whisked in to it. Keep whisking until the mixture becomes stiffer. Once the egg mixture is ready pour the chocolate into it, again around the sides so as not to knock the air out.
  5. Add the flour, cocoa powder, salt and a third of the oreos and stir until fully combined, then pour the mixture into the prepared tin. Scatter the remaining oreos over the top, pressing them in slightly. Bake in the oven for 25–30 minutes. The middle should be very so slightly gooey. Leave the brownies to cool in the tin. The top will sink and crack a little.
  6. Pull the brownies out using the overlapping paper and cut the brownies into squares. Dust with icing sugar.
Taken from Baking Made Easy by Lorraine Pascale (Harper Collins, £18.99)

Let me know if you give them a try...

                 __________________________________________________________
Linking up to BruCrew Life
and
Cupcake Crazy Gem who has also been baking with oreos recently

21 Sept 2012

Autumn Raspberry and Coconut crumble

As the days get colder and the evenings begin to draw in...it's the perfect time for a bowl full of crumble and custard.

This crumble is so simple.
Take one punnet of fresh raspberries.
Mix in a few tablespoons of sugar and three tablespoons of desicated coconut.
Top with a packet of crumble topping.
Bake for around 30 minutes at 180 degrees.

A quick, easy and delicious pud for an autumn evening.
What do you put in your crumble?

21 May 2012

Cheeseburger in a pie?

Yes I know it sounds gross.
And very American.
But yet we have made it three times since pinning it.
It is actually very tasty and very easy to make.
A real crowd pleaser and comforting to boot.


 It may not look hugely appealing but it is very tasty!
Here is the recipe from Anne Coleman:

Ingredients
  • 1 can crescent rolls
  • 1 pound ground beef
  • 1/4 cup finely chopped onion, OR 1 teaspoon onion powder
  • 1/3 cup chopped dill pickle slices
  • 2 tablespoons ketchup
  • 1 teaspoon prepared mustard
  • 2 tablespoons flour
  • 2 tablespoons dill pickle juice
  • 2 tablespoons milk
  • 2 cups shredded American cheese, divided
Directions
  1. Preheat oven to 375°.
  2. Unroll crescent rolls and press into the bottom and up the sides of an 8 inch pie pan.
  3. Cook ground beef in a skillet until browned. Drain well.
  4. Stir in onion, chopped pickle, ketchup and mustard.
  5. Sprinkle with flour and add pickle juice and milk. Cook and stir until thickened and bubbly.
  6. Remove from heat and add 1 cup of shredded cheese.
  7. Pour into the prepared crust and bake for 15 minutes, or until edges of crust are golden brown.
  8. Remove from oven and top with remaining cup of cheese. Let stand until cheese melts.
  9. Garnish with extra ketchup, mustard and pickle slices. 
Now if you're a Brit like me we don't have crescent rolls so I just get puffed pastry and it seems to work fine.

In other news I have been busy setting up a new blog which reviews restaurants - mainly in Yorkshire, but some in London or on travels - it's called Yummy Yorkshire and has already recieved lots of page views but you could become my first official follower. What an honour hey?!

Linking up with the linky party over at BruCru Life

16 Jan 2012

Making whoopee...

Ever since I got the gorgeous new Hummingbird Bakery cook book I have been drooling over the whoopee pies and tried the Banoffe Pie ones here and so next up was the chocolate and peanut butter ones. I wanted to use my tasty new speculoos I got in Belgium - I even got a jar of it for one of my sixth form students who fell in love with it when I made my speculoos blondies here.
You can find the recipe for these babies here, I substituted peanut butter for Lotus Speculoos (available in Belgium and I think an equivalent is called Biscoff in America and Australia?) 

Top tip: Actually follow the instructions and put the batter in the fridge for a good hour - it made it sooo much easier to mould perfect rounds with as it was the texture of cookies rather than a cake batter.
My sixth form also got to sample these as an impromtu treat for winning a quiz as otherwise i would have scoffed the lot myself!
_____________________
Linking up with BruCrew Life's trick or treat Tuesday

14 Jan 2012

Things I'm loving 2012!

Hi there...
Here are a few things I am loving so far this year.
1) Hands down the BEST cupcakes I have ever baked and tasted. An explosion of blueberry and lemon - really moist and topped off with a delish cream cheese frosting. I am making them for my friends wedding in feb and she raved about them on the trial. I will post about them next month with pics and ideas for decorating them - think glitter and butterflies!
Recipe here
 2) I got my nails done for my works do and then went and brought myself my own black opi shatter and recreated the look for New Years Eve. I love this stuff! It's so easy too!
 3) My nod to a healthier new me in 2012 has been these bad boys. They are so delish and help up my fruit intake - the new one has acai berry and that is a superfood - more of that please!!

4) I am a little bit addicted to The Big Bang Theory and think all of the characters are so clever and hilarious, I have a few friends they remind me of and this makes it even funnier. It's very clever and Sheldon just cracks me up! Do you watch it too?
 5) Being reunited with this man...he was away on a residential this week and at first I was really looking forward to it, but I did get quite lonely at night. I caught up with some of my girlie friends which was great, but I was *really* pleased to see him Friday afternoon!
What are you loving for 2012?
_______________________
Linking up with Paisley Jade

22 Nov 2011

Thanksgiving Pumpkin Pie

So we were all feeling a bit sad that two out of the four sisters are spending Christmas with the in-laws so we decided to have a fake Christmas this past weekend. Since it isn't even December we decided to call it thanksgiving (plus my sister Gems is obsessed with the US of A, she is also obsessed with dessert bars so we had a pie bar!)
My contribution was mini pumpkin pies. I luckily had the mini pie tins (brought for £6 each at TKMaxx) from our Come Dine with Me. I used the recipe on the Libby's pumpkin pie tins and it worked a treat, for once I avoided the urge to over spice the pies and they were very tasty served with a dollop of vanilla infused cream. For fellow Brits I sourced the Libby's pure pumpkin at Waitrose but they only stock it around this time of year.

LIBBY'S® Famous Pumpkin Pie

LIBBY'S PUMPKIN 
This is the traditional holiday pumpkin pie. This classic recipe has been on LIBBY'S® Pumpkin labels since 1950. This pie is easy to prepare and even easier to enjoy. Just mix, pour, bake for a delicious homemade tradition.

Ingredients

Directions

MIX sugar, cinnamon, salt, ginger and cloves in small bowl. Beat eggs in large bowl. Stir in pumpkin and sugar-spice mixture. Gradually stir in evaporated milk.

POUR into pie shell.

BAKE in preheated 425° F oven for 15 minutes. Reduce temperature to 350° F; bake for 40 to 50 minutes or until knife inserted near center comes out clean. Cool on wire rack for 2 hours. Serve immediately or refrigerate. Top with whipped cream before serving.


To see more of the delicious pies and treats head over to my sister Gem's blog. In the meantime I will leave you with the full spread...
Happy thanksgiving to my American followers (for Thursday) and welcome to my new followers. I really do appreciate all the comments and all the hits - it gives me a buzz after a gruelling day at school!

P.S Do you like the new look? Gems pimped my blog over the weekend too!
Related Posts Plugin for WordPress, Blogger...